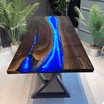
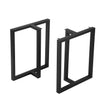
Installing the legs of your new table can seem tricky, but with the right tools and steps, you’ll have your table ready to use in no time! Here’s a straightforward guide to help you secure your table legs properly, ensuring both stability and style.
Tools You’ll Need:
- Drill
- Screws (choose the appropriate length based on the leg’s mounting holes)
- Screwdriver
- Measuring tape
- Pencil
- Clamps (optional, for extra stability)
Step 1: Determine Leg Placement
Start by flipping your table over so that the tabletop is facing down. To protect the surface from scratches, use a soft cloth or sponge underneath. Once the table is flipped, position the legs where you’d like them. Use your measuring tape to ensure they are evenly spaced from the edges for a clean and balanced look.
Step 2: Mark the Mounting Holes
Once the legs are in position, take a pencil and mark the spots where the mounting holes are located. This will guide you during the drilling process, helping you keep everything aligned.
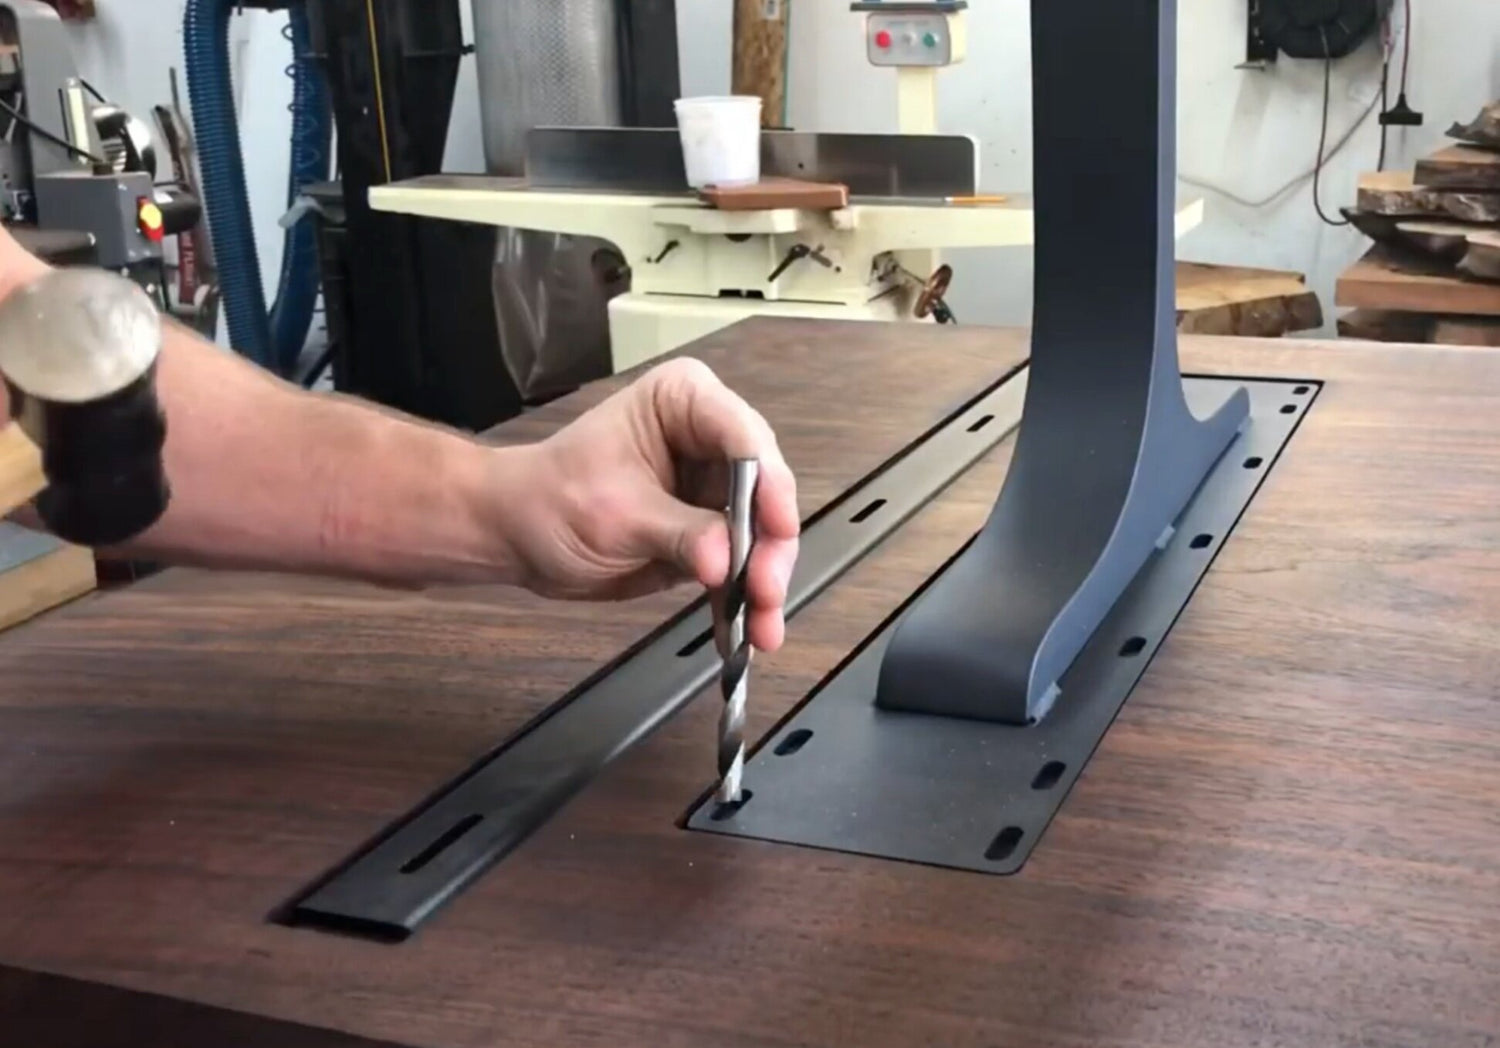
Step 3: Drill Pilot Holes
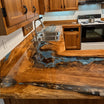
If the holes for the table legs align with any resin areas, avoid drilling into those spots to prevent damaging the resin. Using your drill, make pilot holes at each marked location. The depth of the pilot holes should be slightly shorter than the length of your screws for a better grip. Be careful not to drill too deep and accidentally go through the tabletop!
Step 4: Attach the Legs
With the pilot holes drilled, align the legs back into position. Use your screwdriver or drill to secure the screws into the tabletop. For best results, tighten the screws in a criss-cross pattern, starting from opposite corners. This helps to distribute pressure evenly and prevents tilting.
Step 5: Check Stability
Once all the screws are in place, gently shake the table to make sure the legs are securely attached and there’s no wobbling. If needed, clamps can be used during installation to provide extra support and ensure the legs stay in place.
Step 6: Flip the Table
Carefully flip the table back to its upright position. Give the legs one last check to make sure everything is stable and secure. Your table should now be ready for use!
If you run into any problems during installation, don't hesitate to reach out to our support team at support@createatable.com. We’re always happy to assist you and ensure that your table setup goes smoothly!

