


CREATEATABLE Manufacturing Process
At CREATEATABLE, we are dedicated to crafting high-quality epoxy tables with attention to detail at every step. Here’s an in-depth look at our manufacturing process:
1.Selection of Materials:
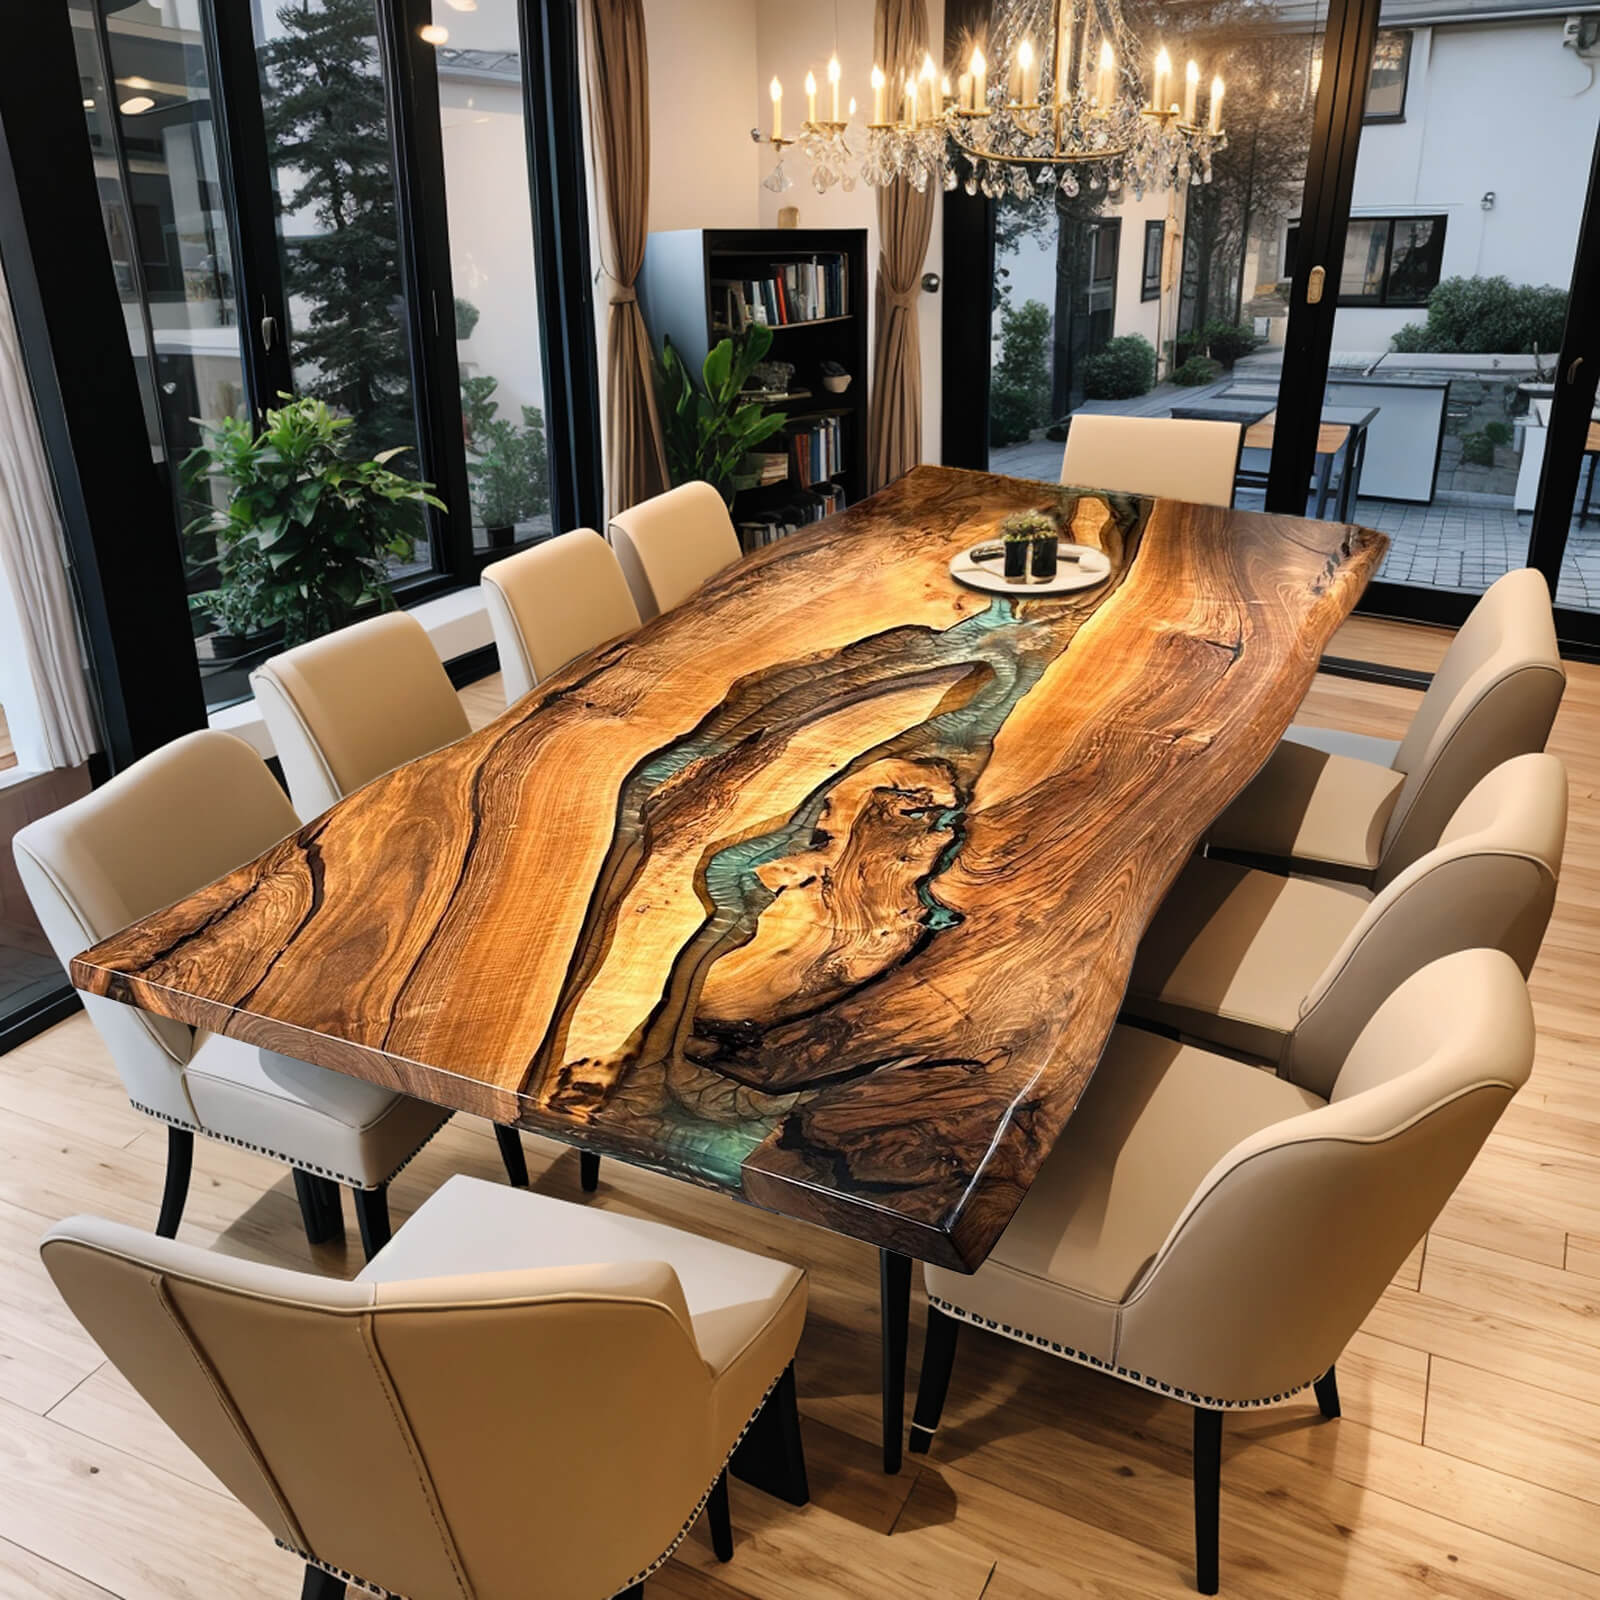
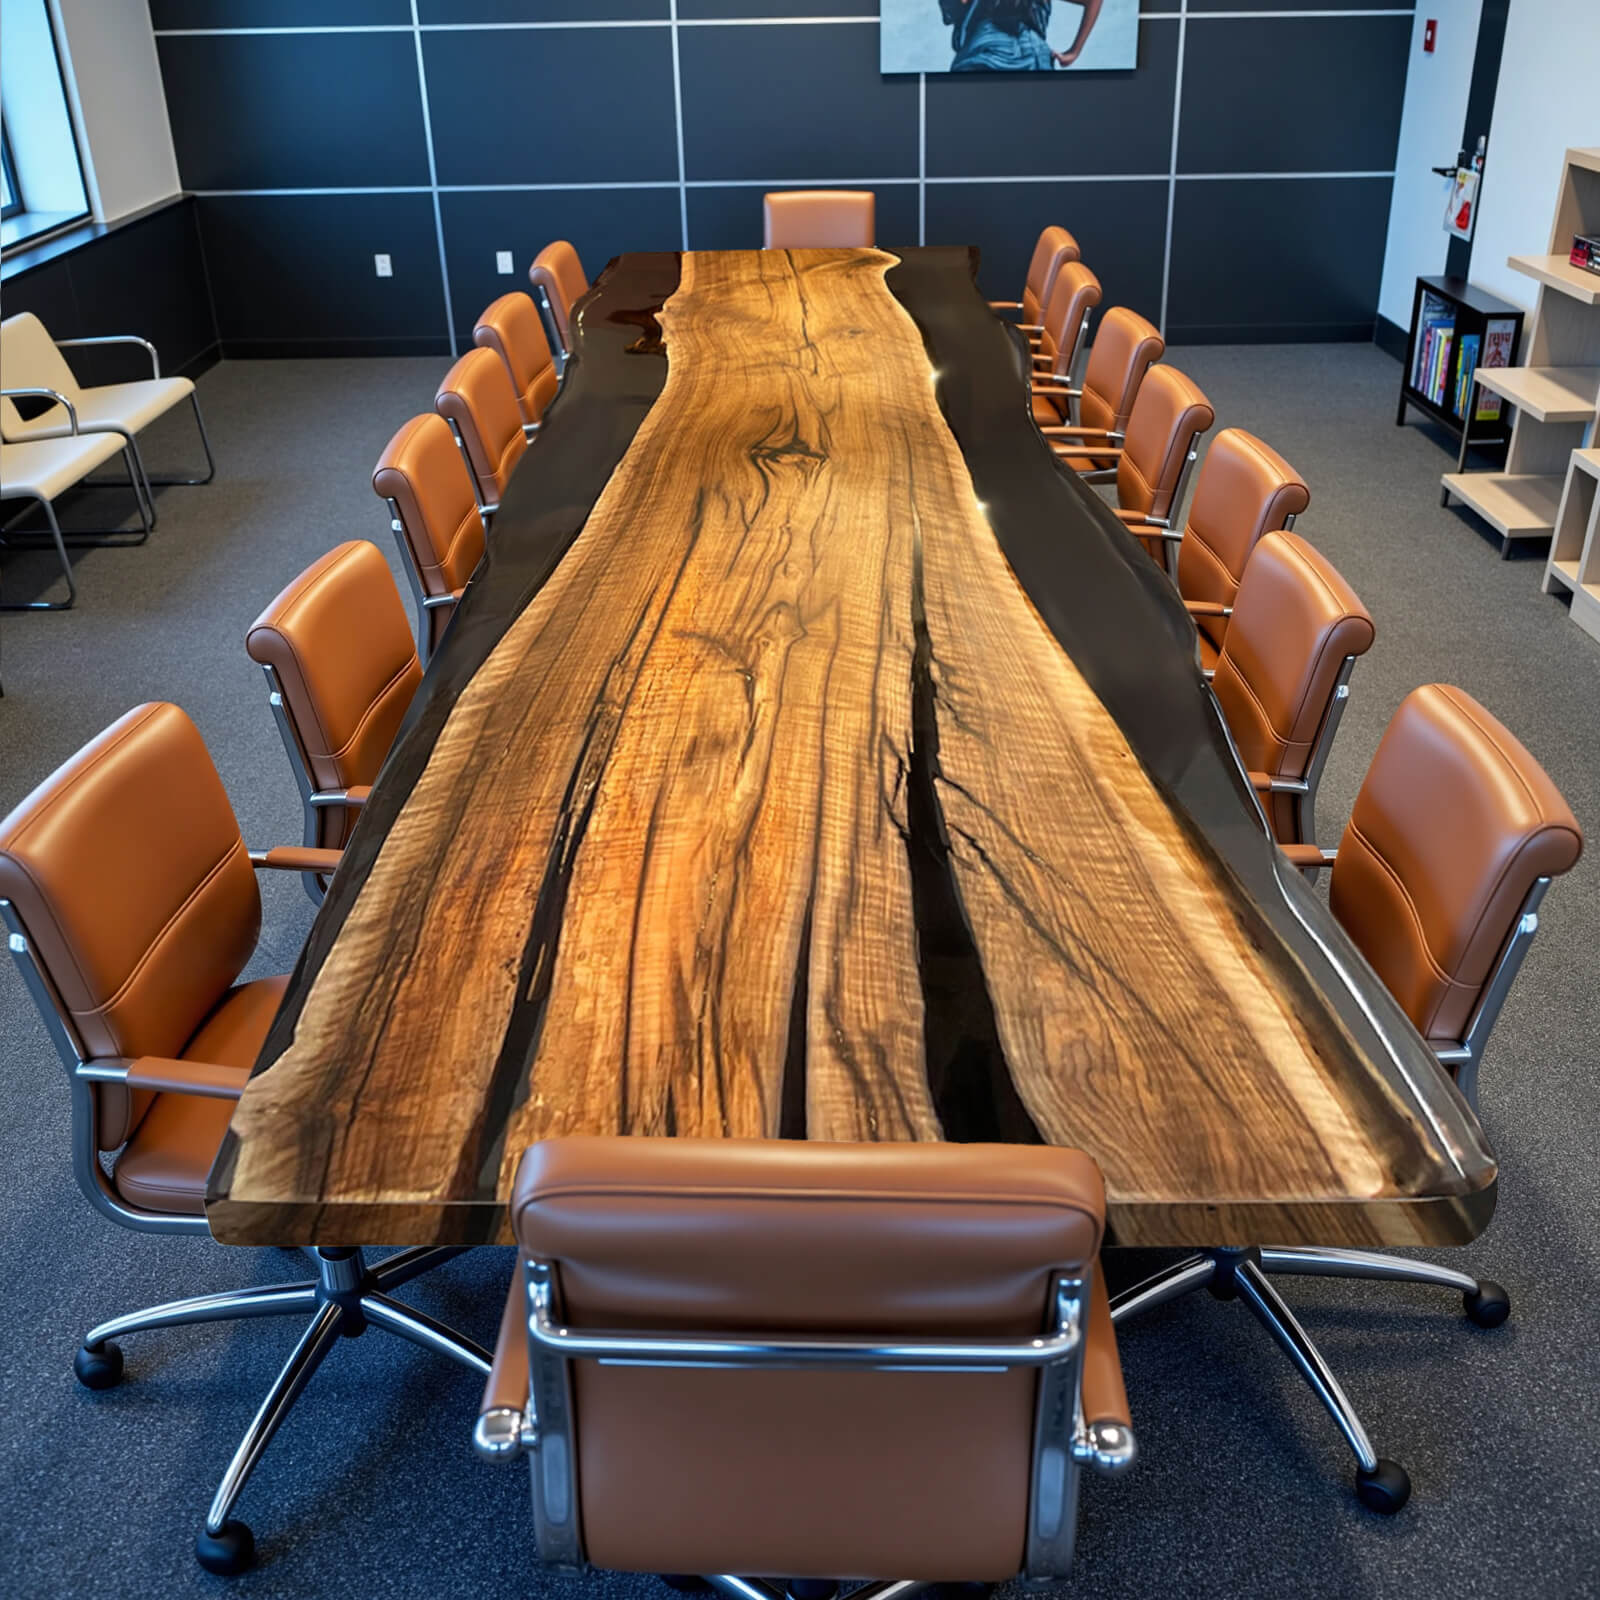
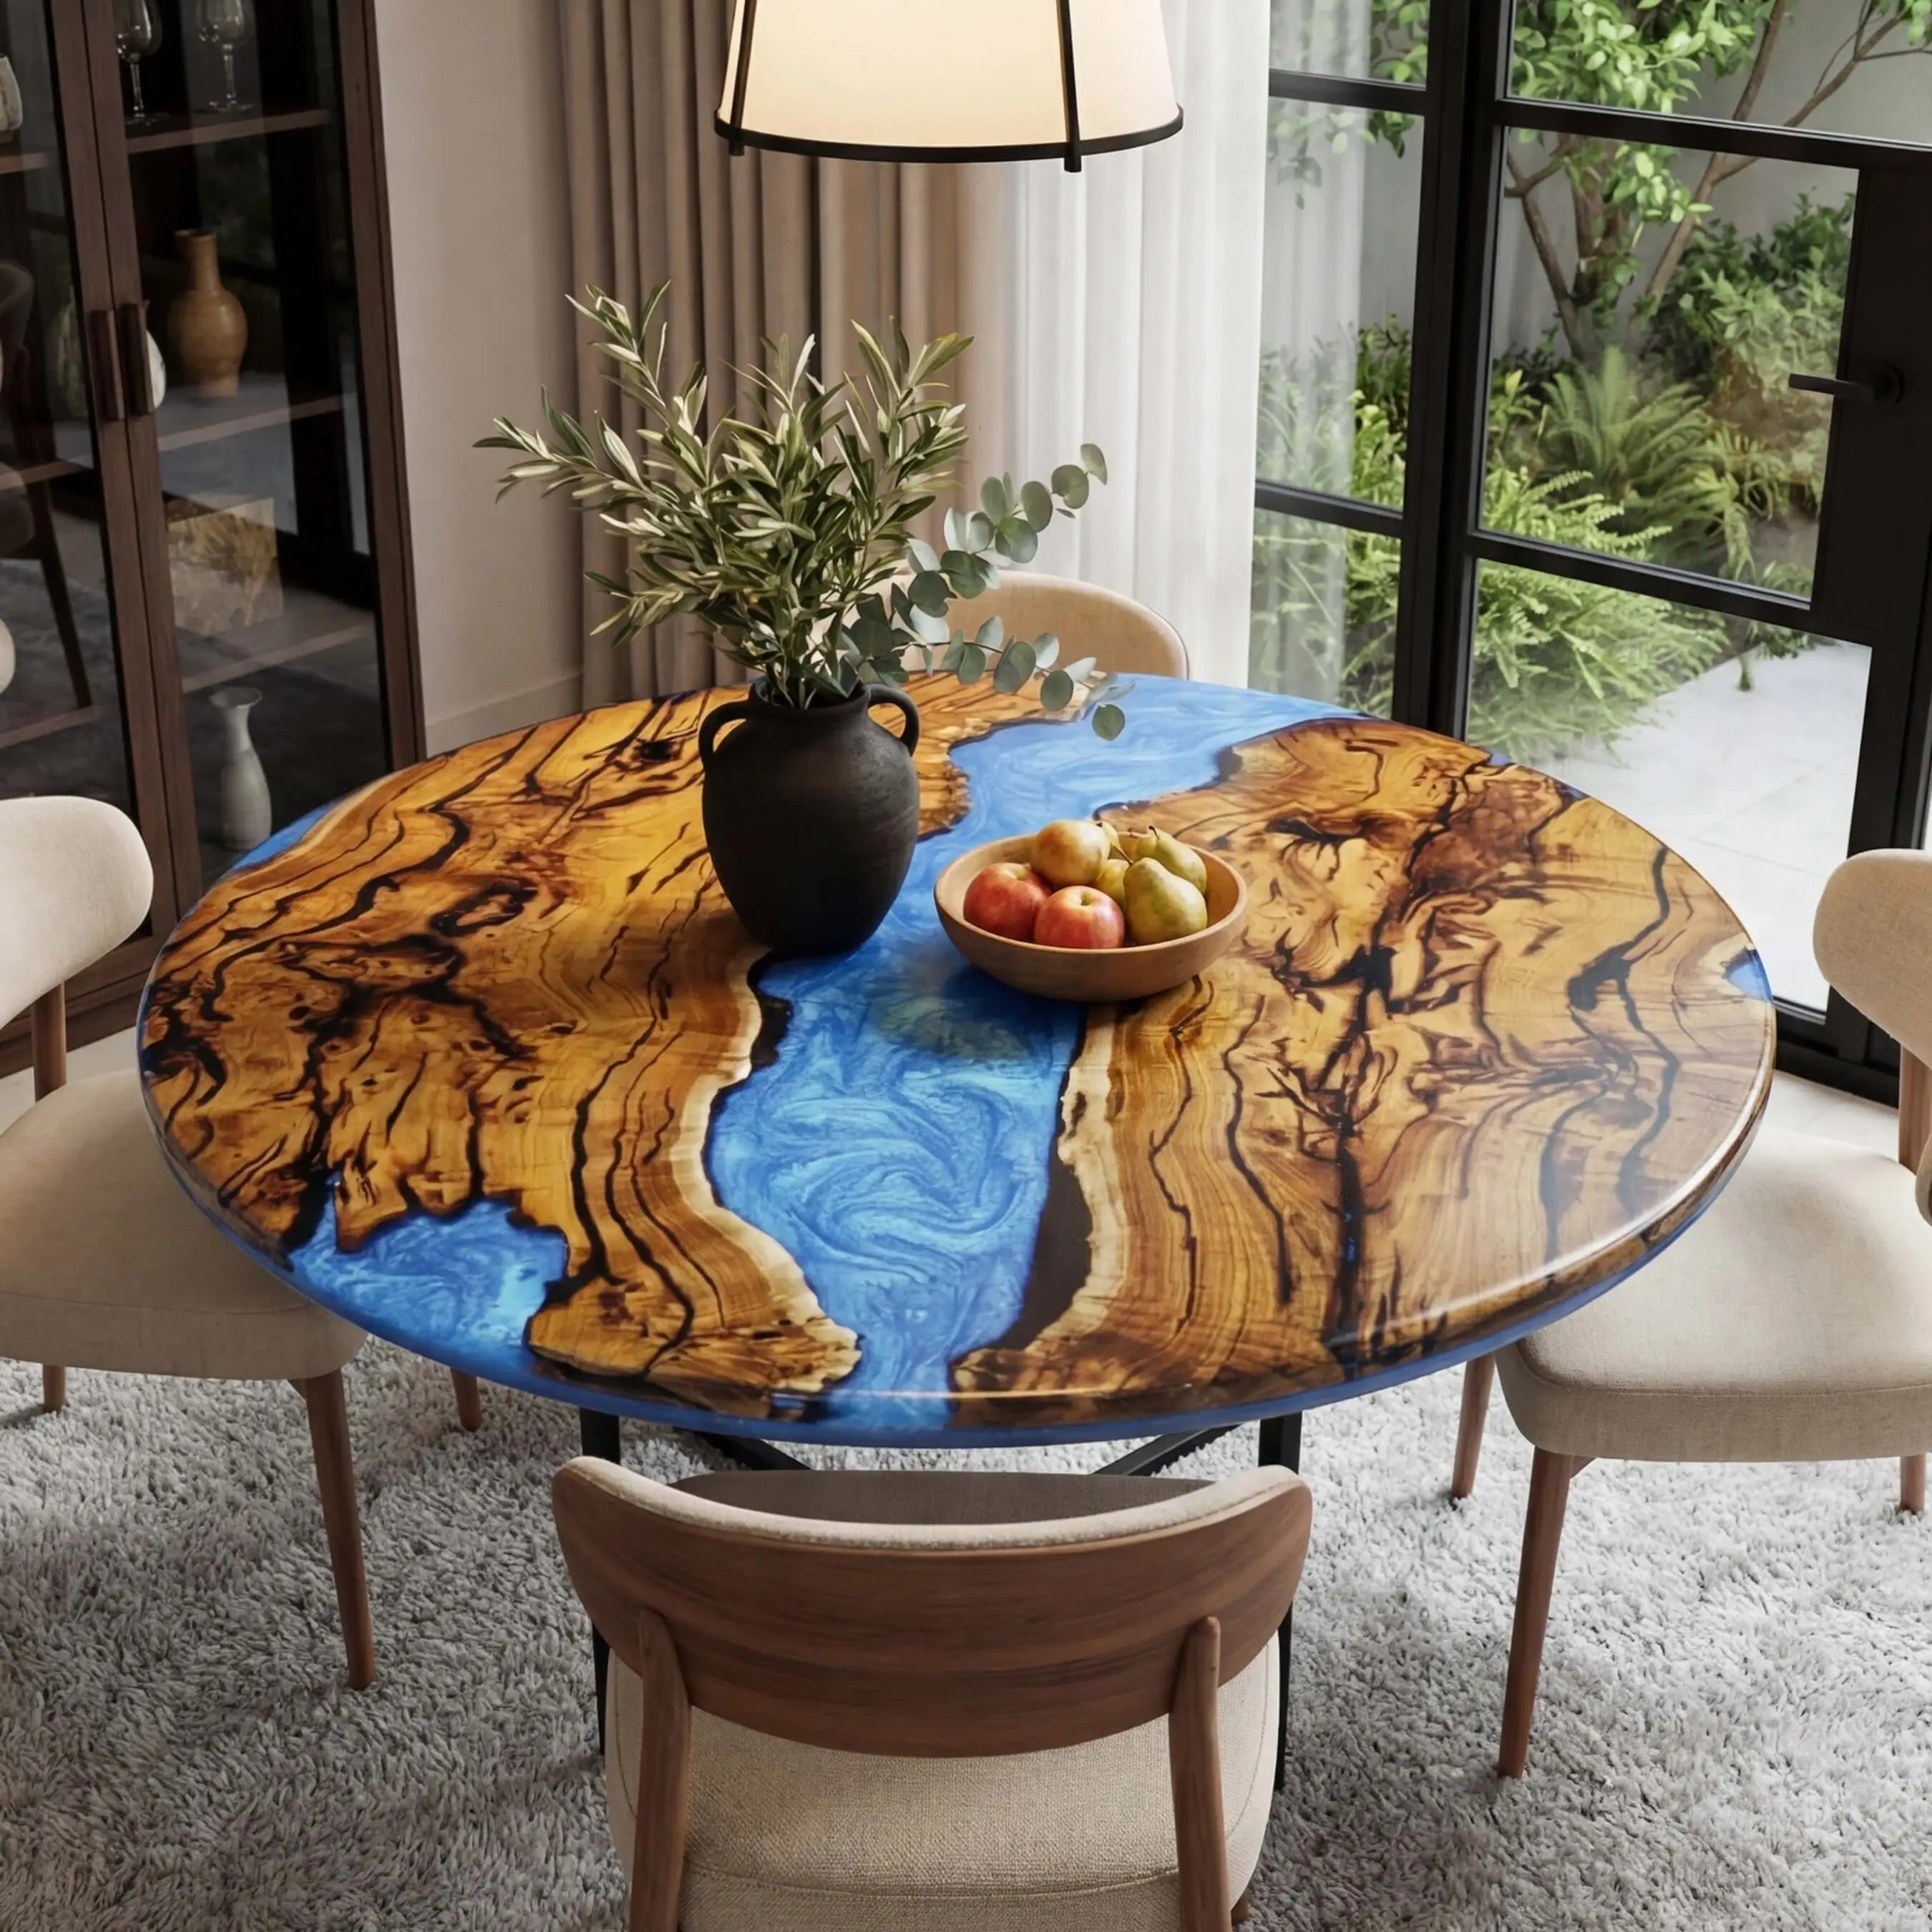
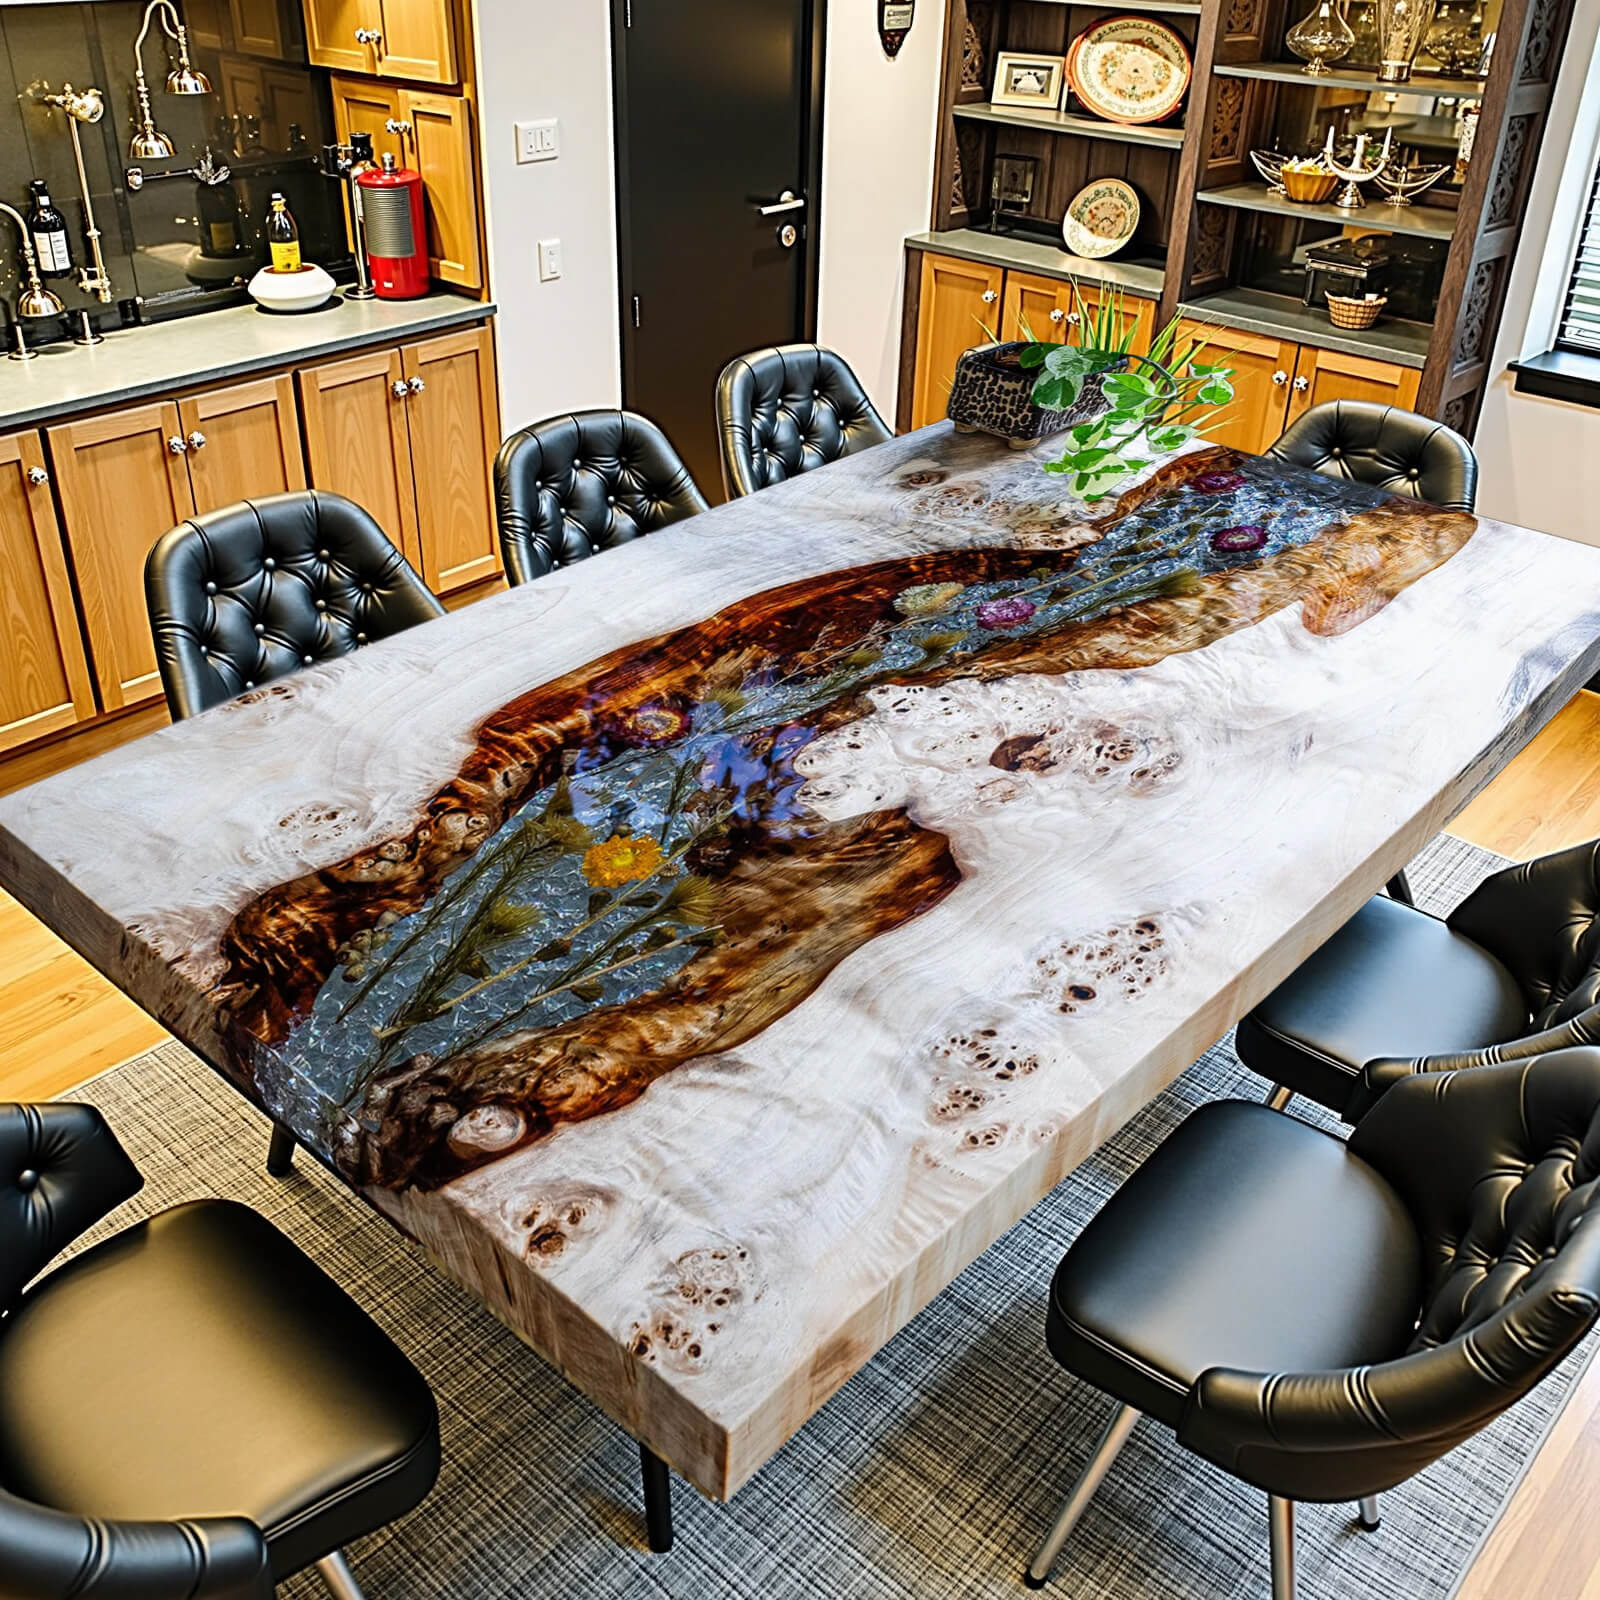
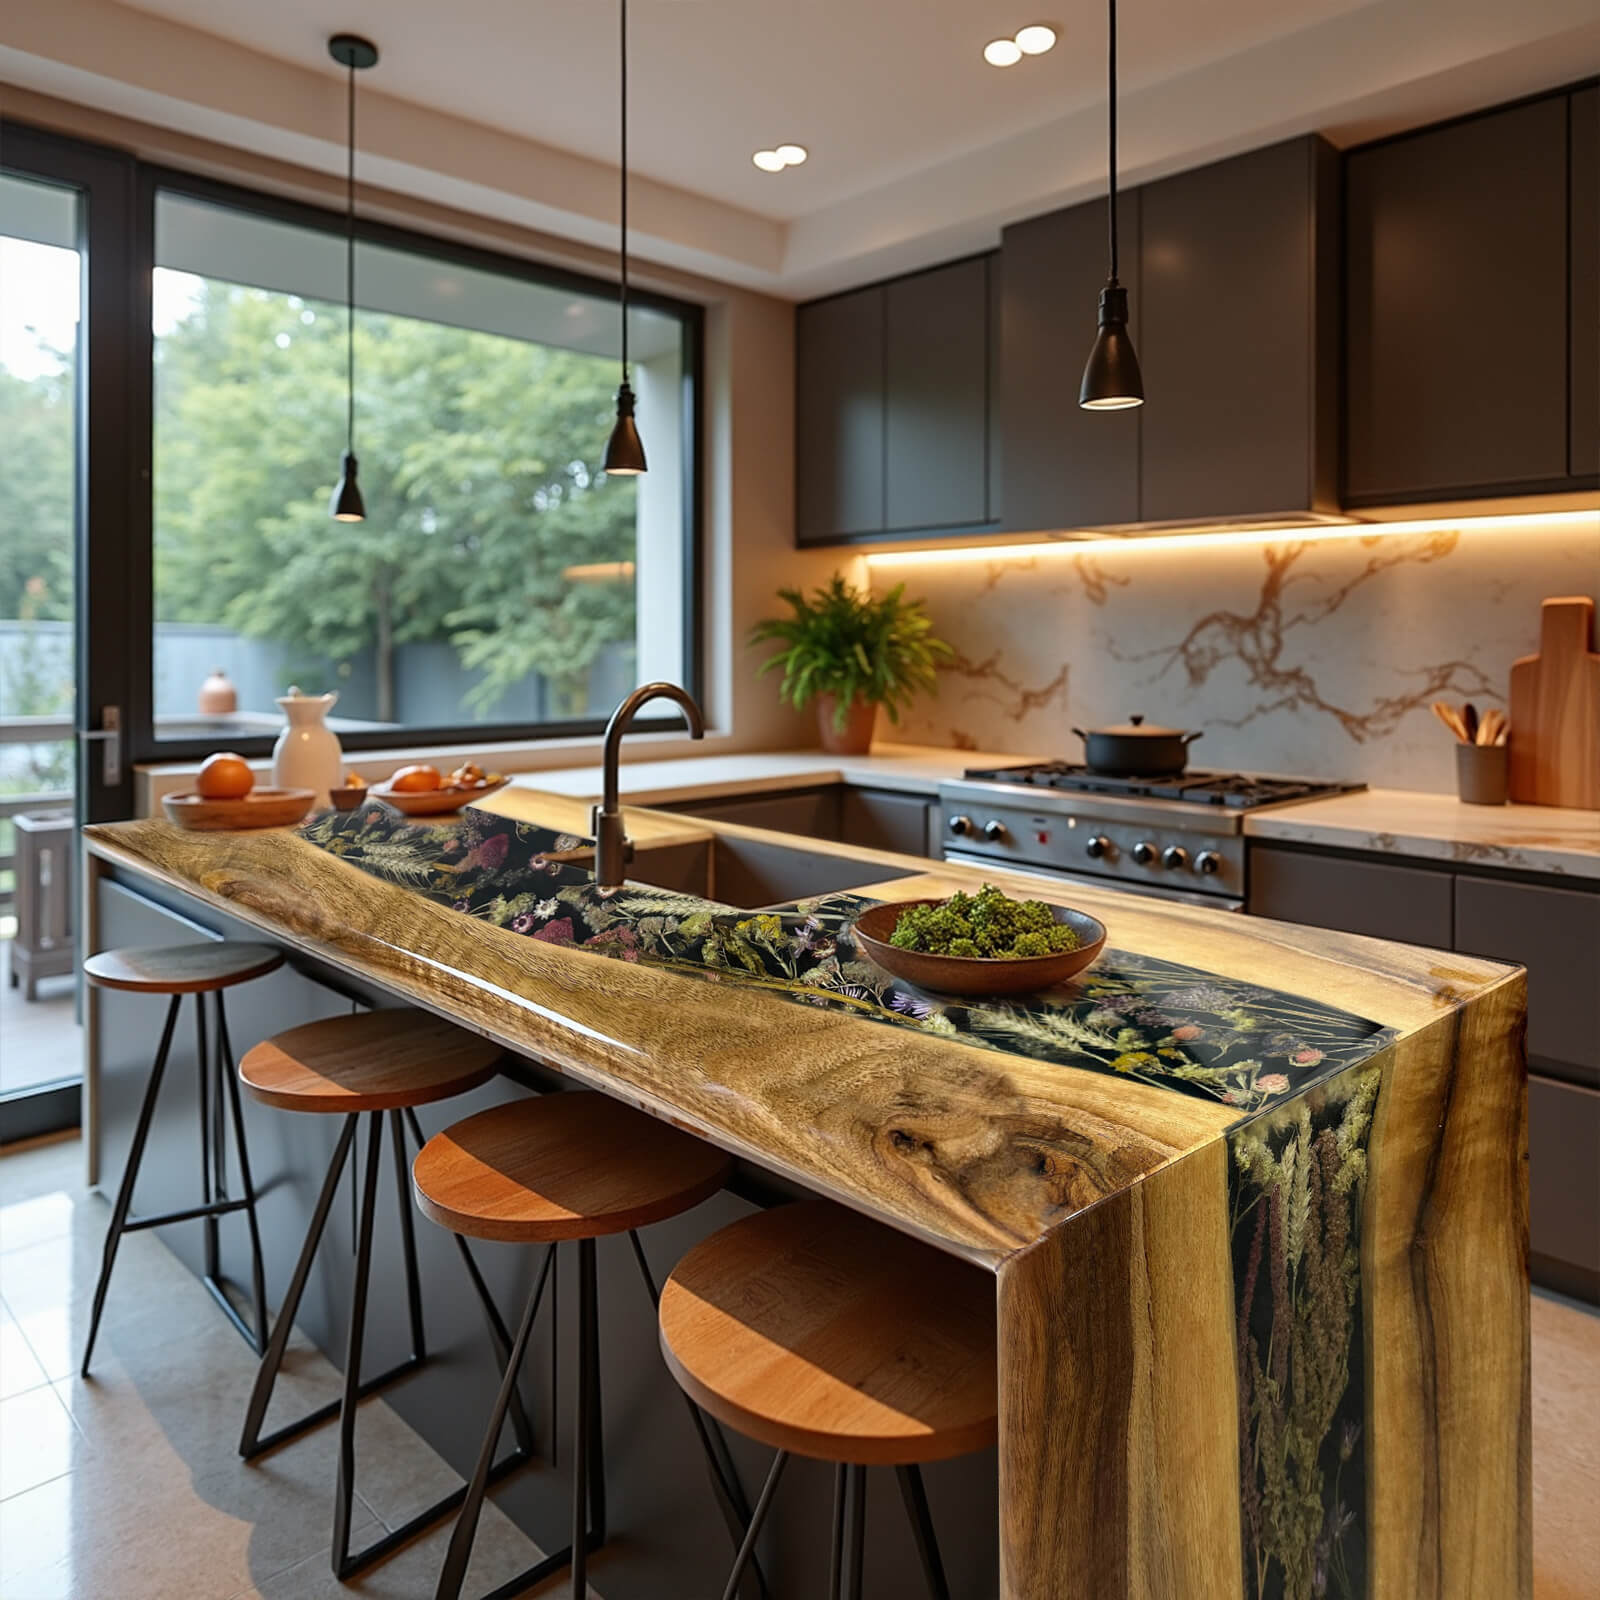
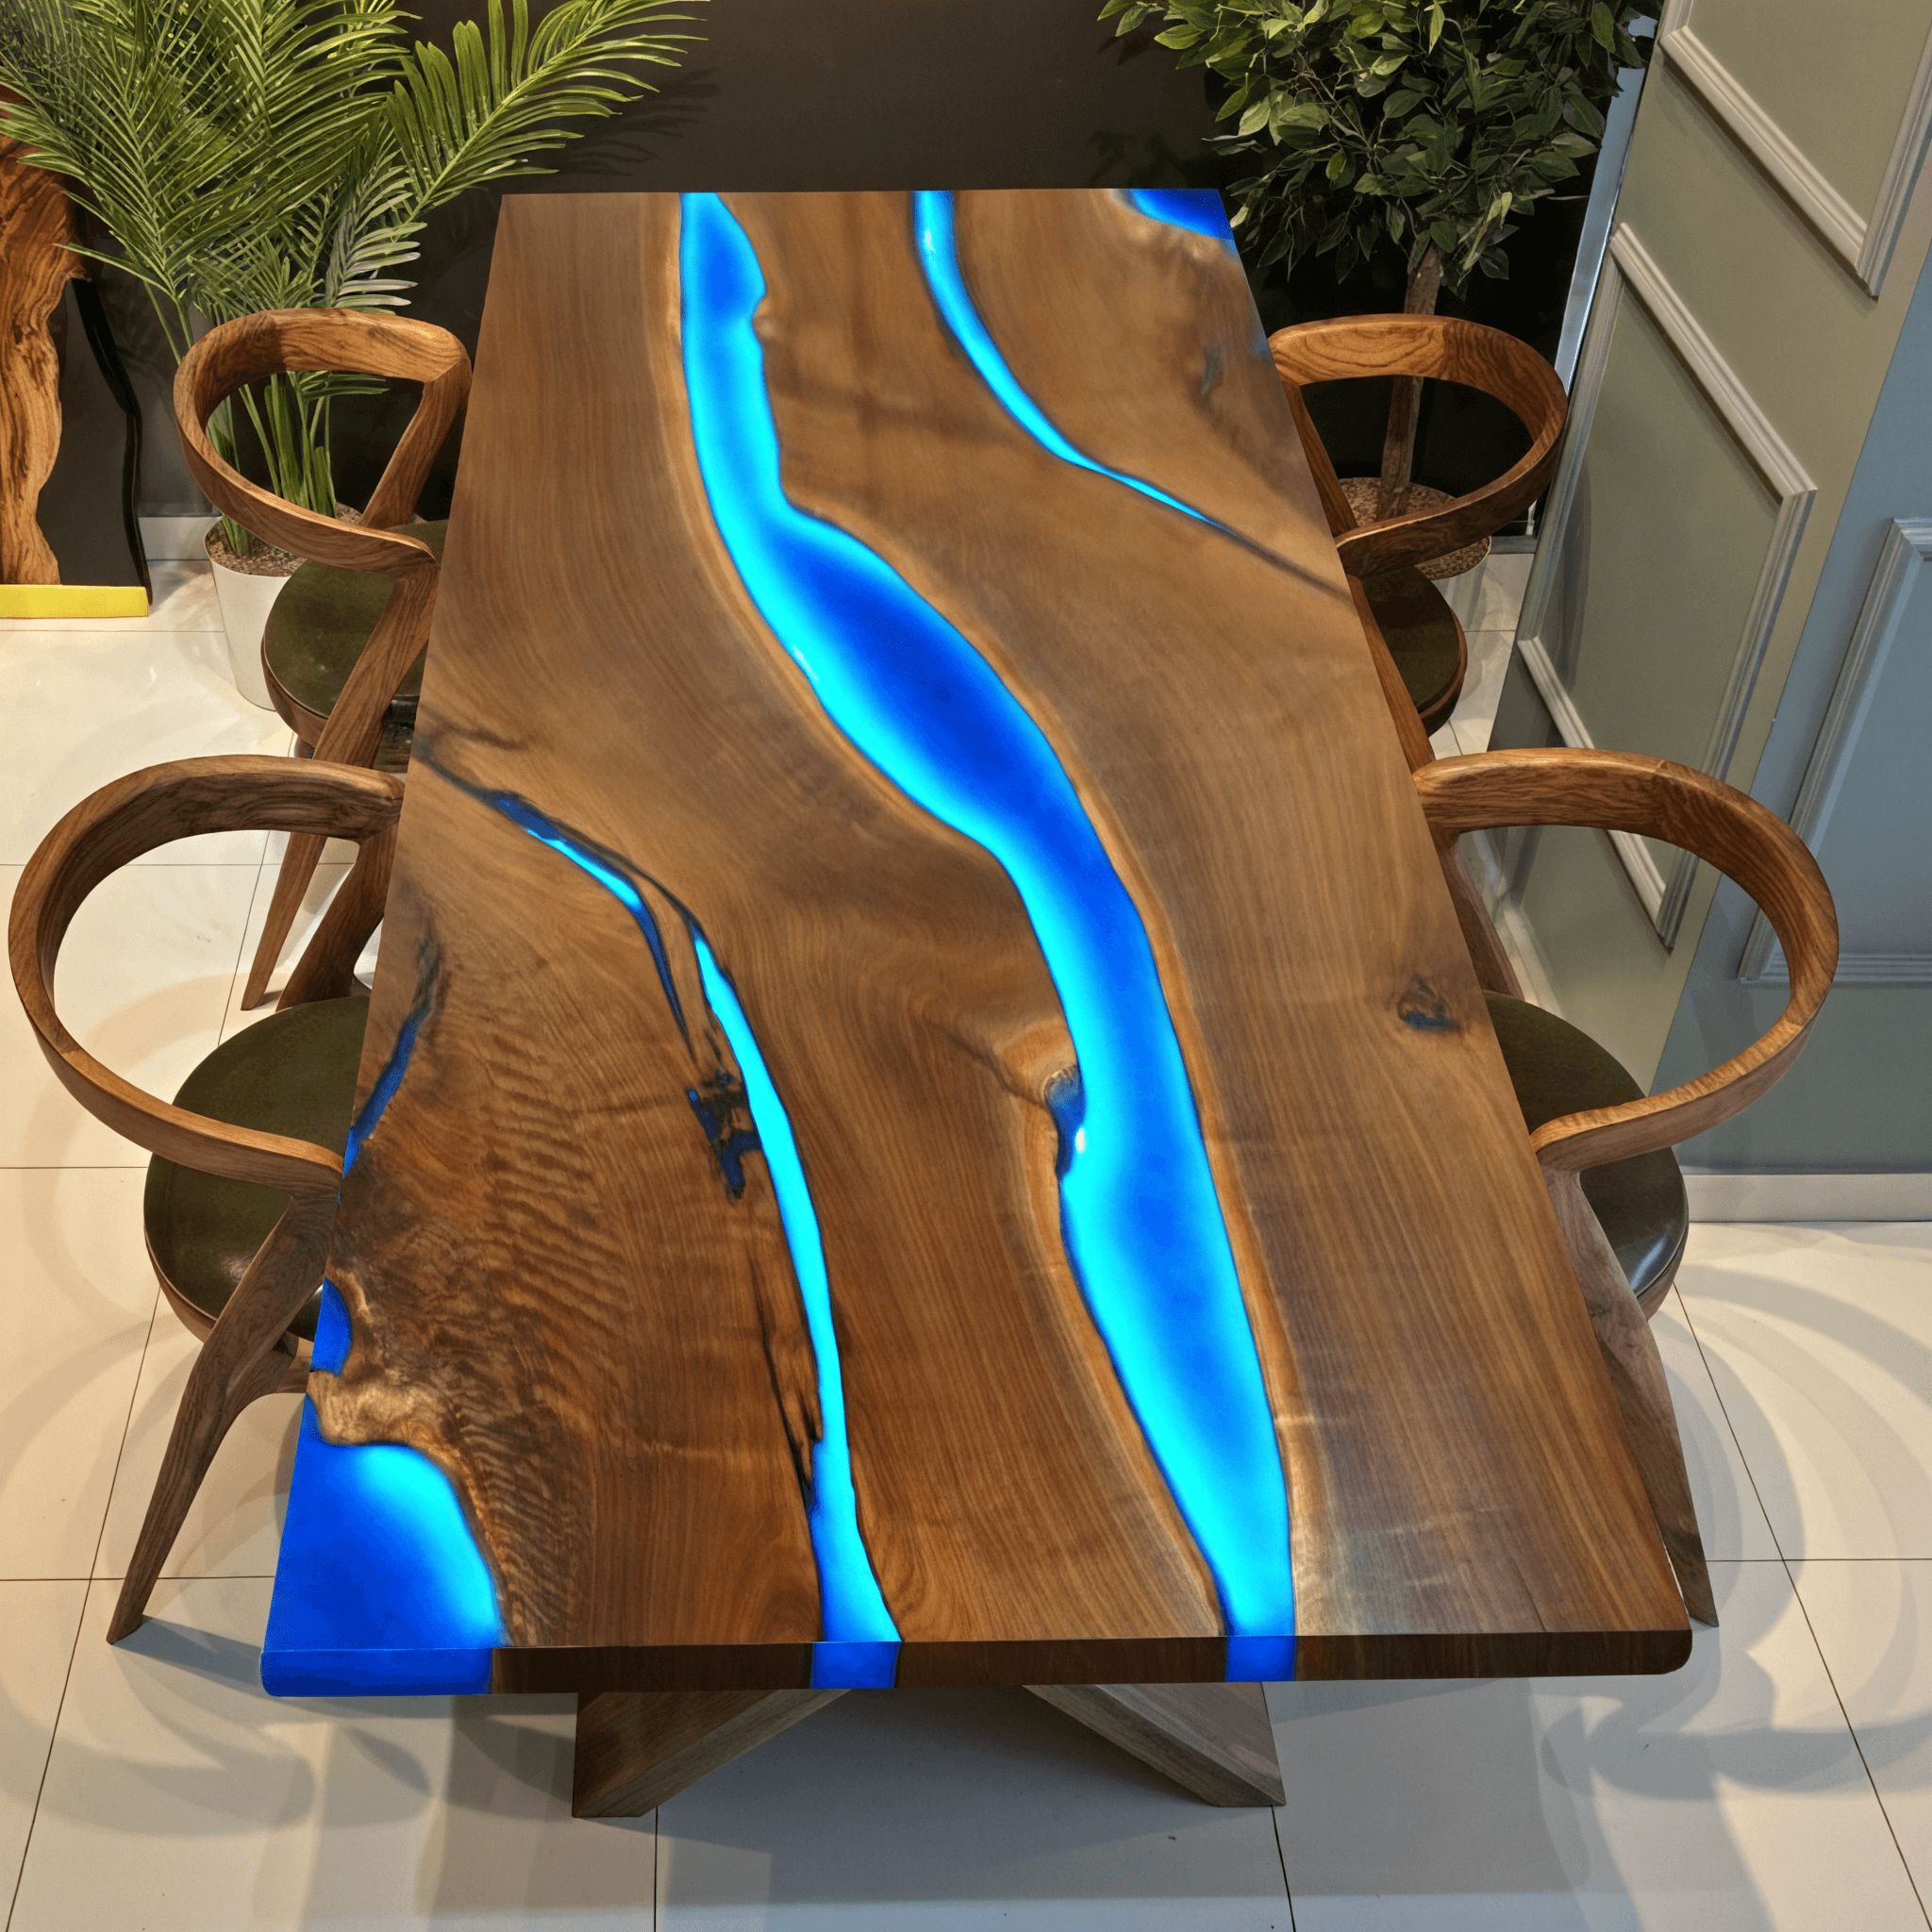
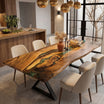
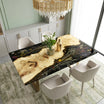
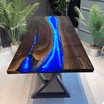
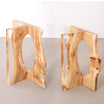
- Wood Type: We offer a variety of wood options, including walnut, olive, and poplar. Each type provides a unique aesthetic and durability.
- Wood Shape: Customers can choose between natural shapes or custom-designed forms tailored to their specifications.
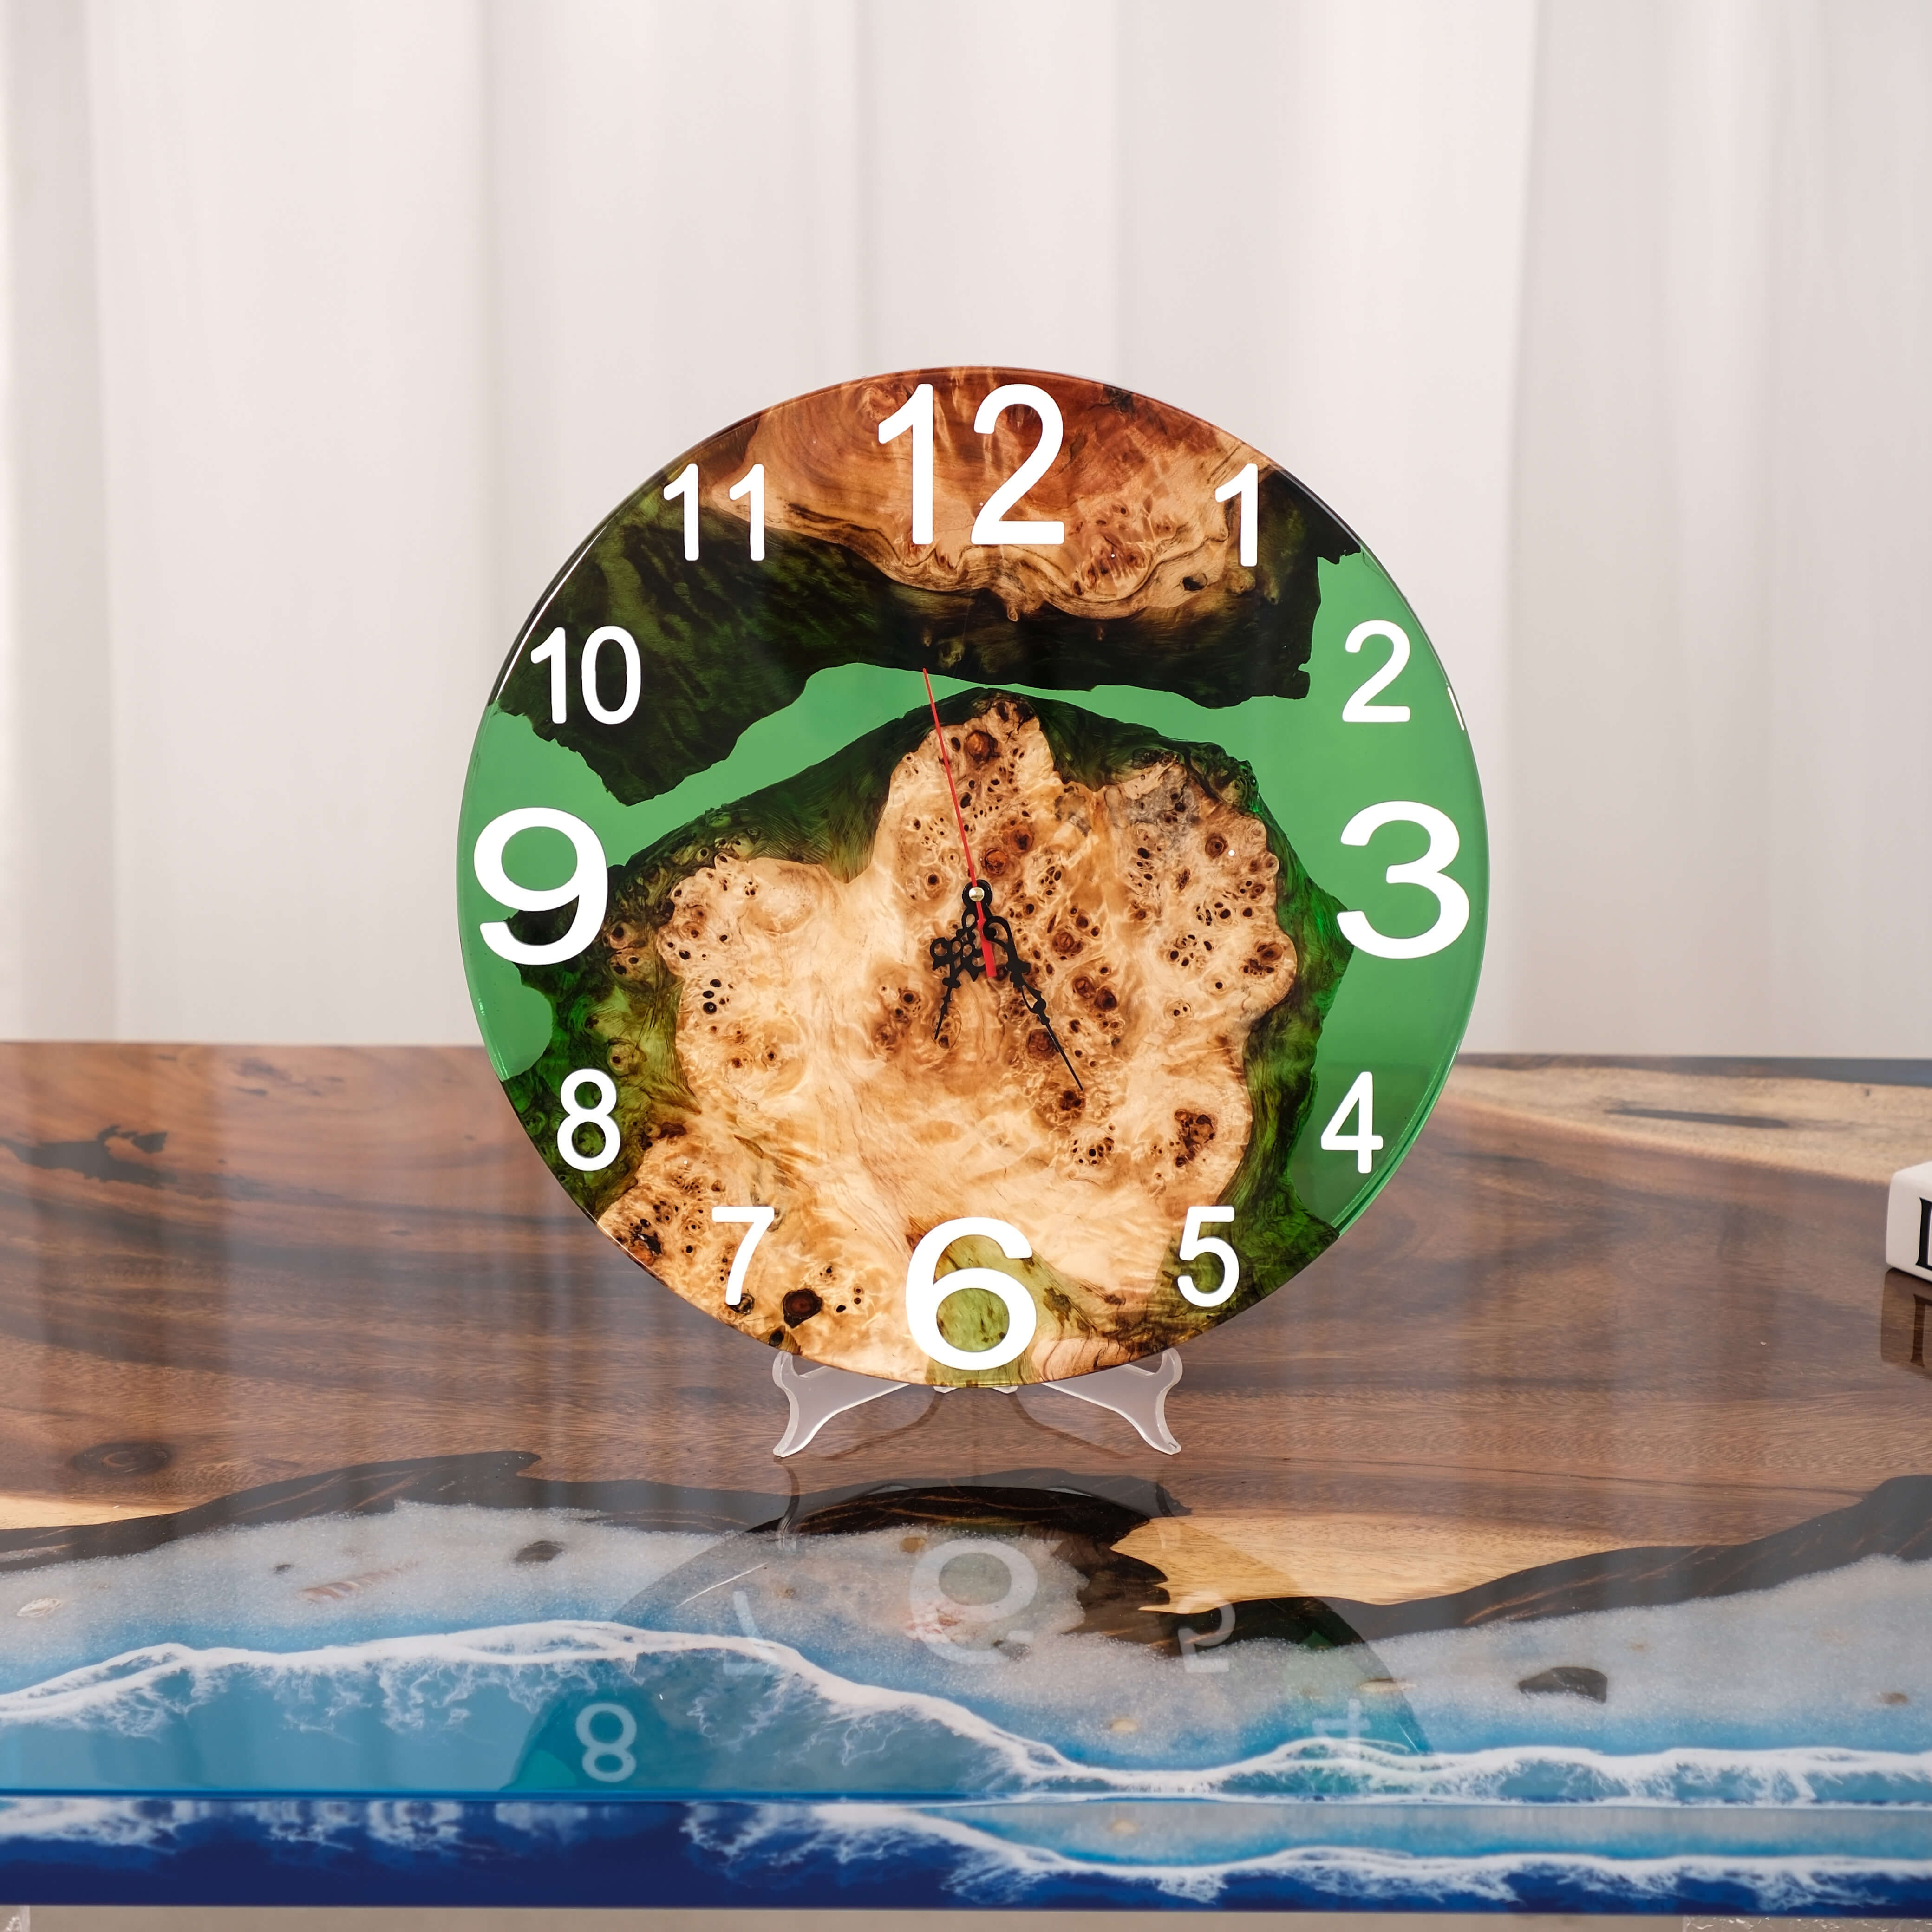
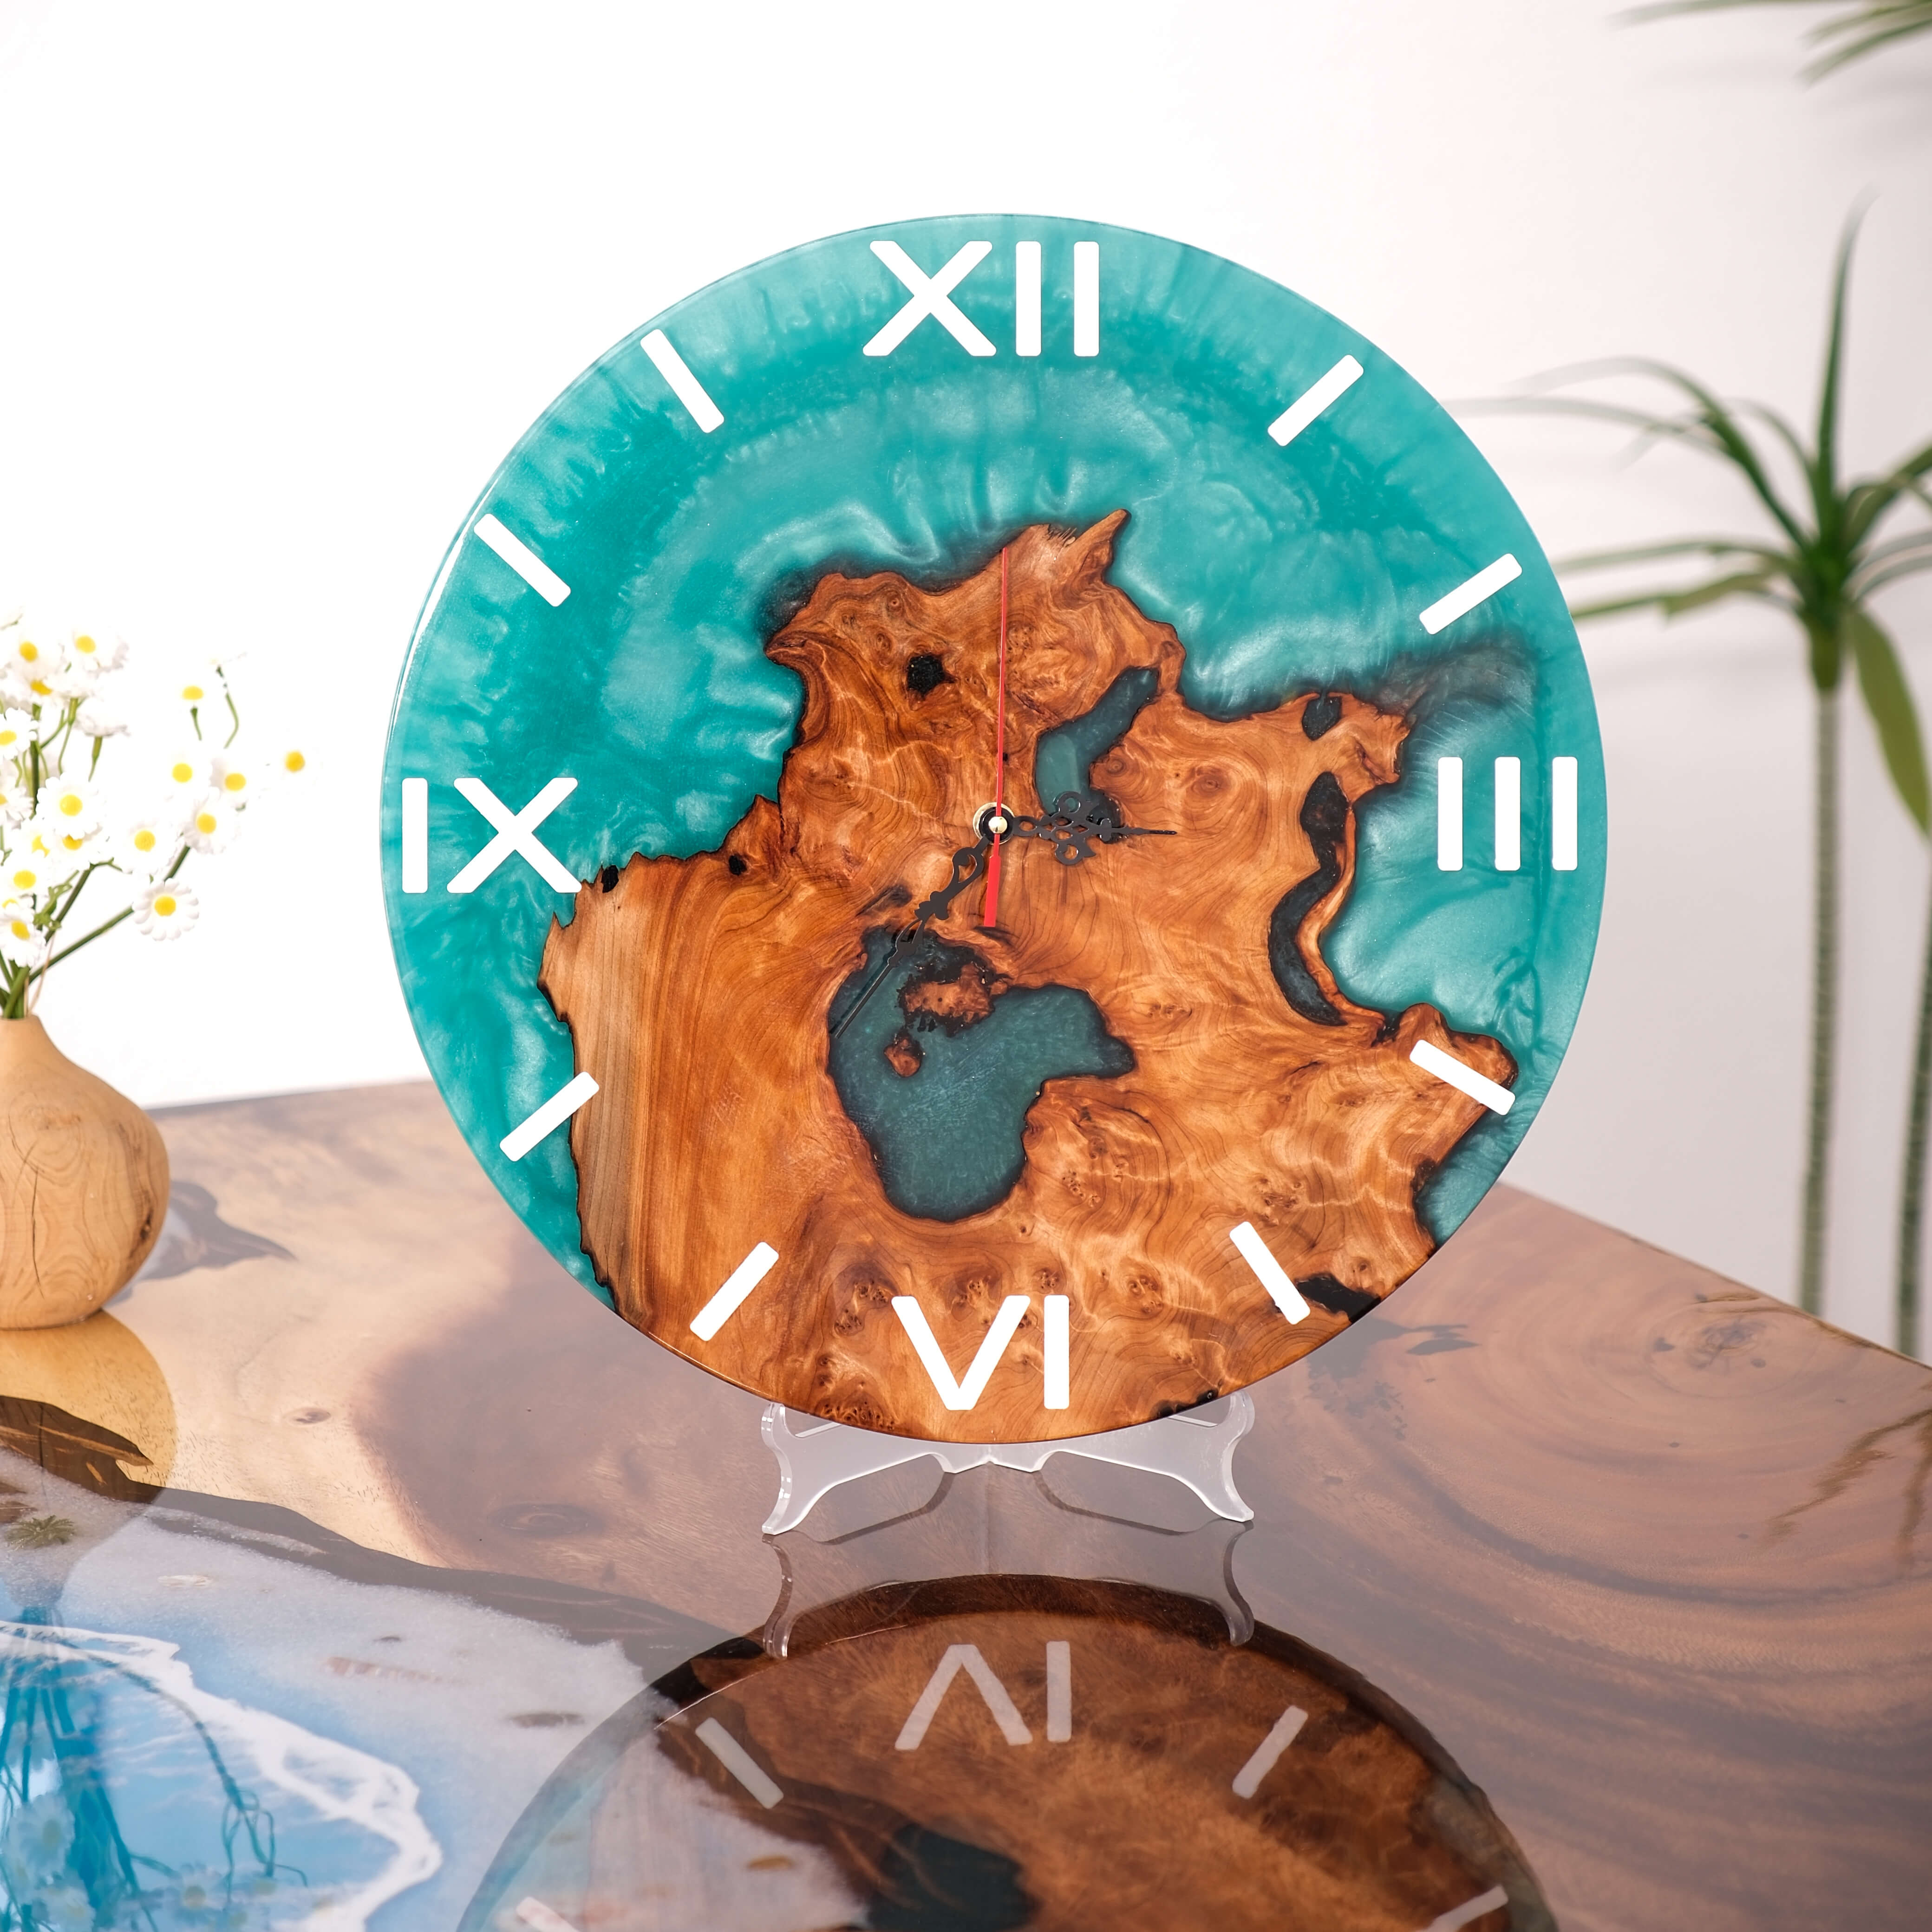
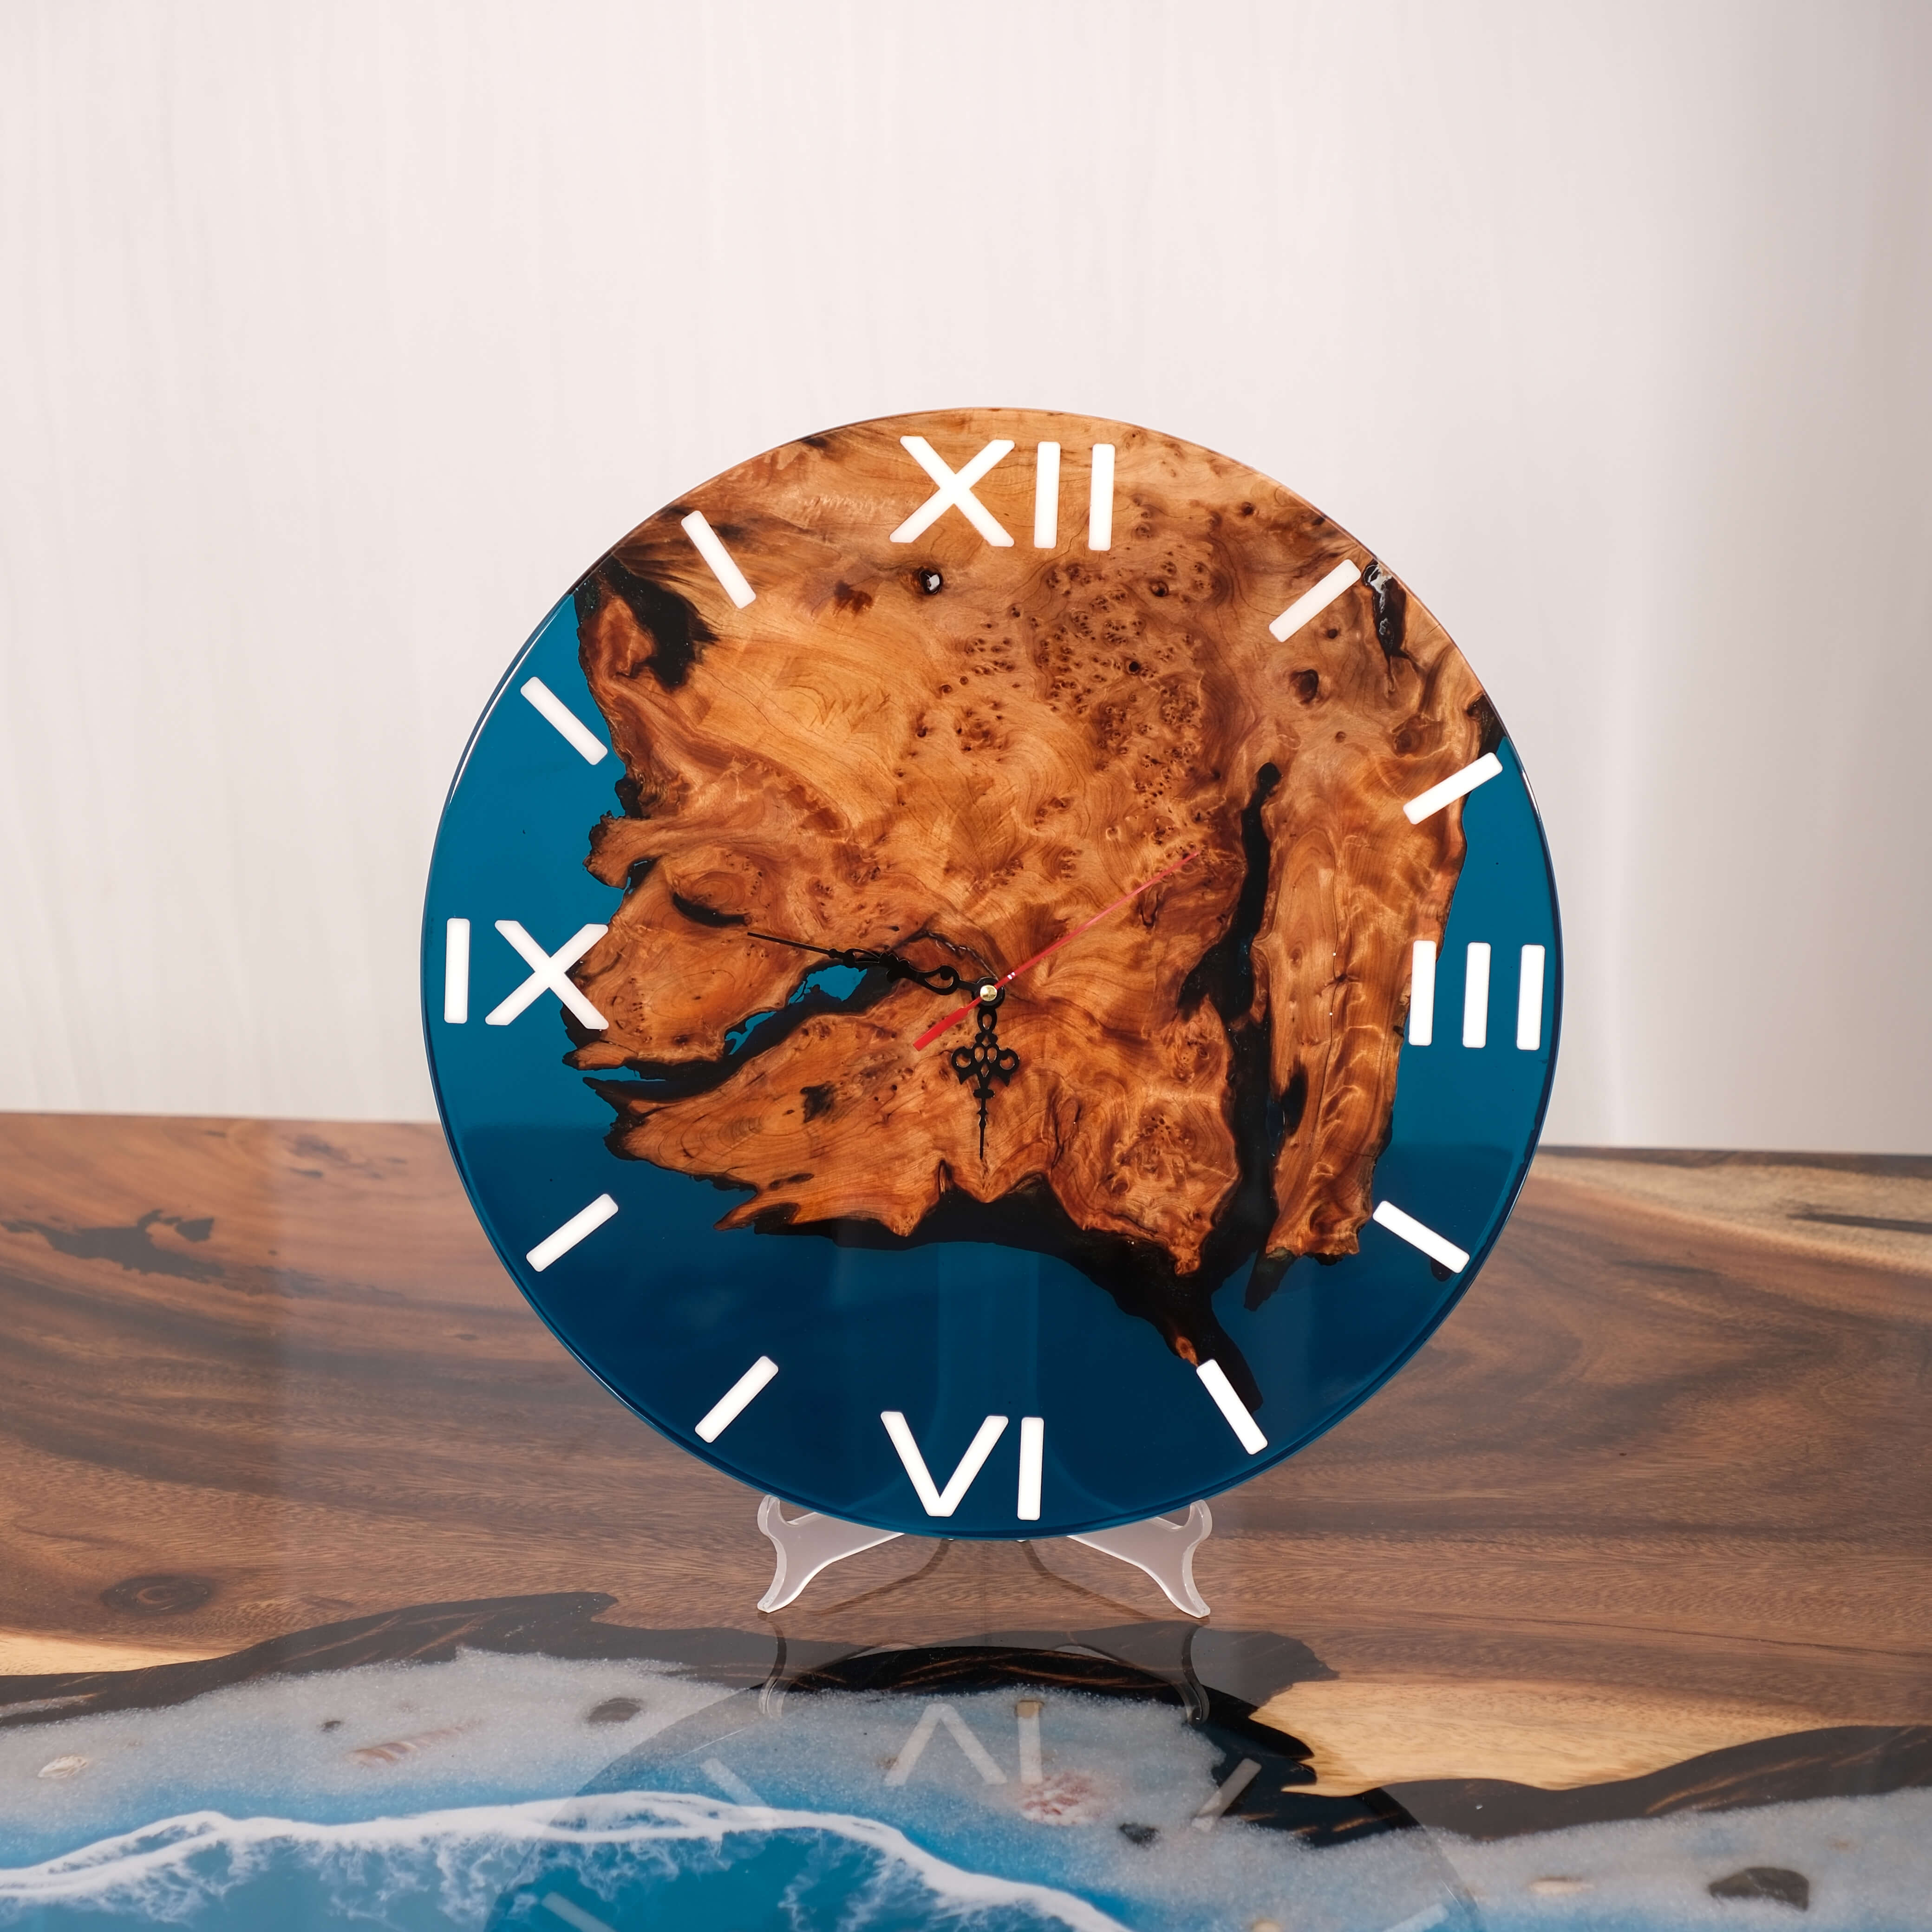
- Epoxy Color: The final appearance of your table is enhanced by selecting the perfect epoxy resin color.


 2.Wood Preparation:
- Cleaning: We meticulously remove any impurities from the wood surface to ensure a flawless finish.
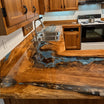
- Trimming: Wood is cut and shaped as needed, taking care to retain its natural beauty. Please note that cleaned wood may differ slightly from the original selection.
- Resin Coating: We apply an initial layer of resin to seal the wood, effectively isolating it from bacteria and dust. This step also helps reduce bubble formation during subsequent resin applications.


 3.Preparing the Epoxy Resin:
- Mixing: We blend the chosen resin colors, ensuring a uniform mixture.
- Vacuum Degassing: Using a vacuum chamber, we remove small bubbles from the resin. This process takes approximately 30-60 minutes and is crucial for achieving a clear finish.


 4.Epoxy Resin Pouring:
- Layering: The resin is poured in layers, allowing for controlled thickness. As larger bubbles rise, we skillfully use a torch to eliminate them, ensuring a smooth surface.
- Curing: Each layer typically requires 2 days to cure fully, with a total of 3-5 layers needed for standard thickness. Additional layers may be necessary for effects like ocean waves.


 5.Demolding:
- Once the final layer is completely cured, we carefully remove the table from the mold, ensuring no damage occurs to the edges or surface.

 6.Sanding and Finishing:
- Sanding: We meticulously sand the surface to remove any excess wood and resin, preparing it for the finishing process.
- Varnishing: The table receives a scratch-resistant varnish applied in multiple coats (5-6 times). We use a solvent to clean the surface before the first coat, enhancing the color and ensuring better penetration.

 7.Quality Inspection:
- Each table undergoes a thorough quality check, where we fill any gaps in the resin and polish raised areas to achieve a smooth, flawless finish.
 8.Final Coating:
- In a controlled, dust-free environment, we apply the final layer of varnish using a spray gun, minimizing the risk of dust contamination for a pristine finish.
 9.Packing and Shipping:
- Once production is complete, your custom epoxy table is carefully inspected, securely packaged, and prepared for shipping to your destination.

Production Timeline: Our complete production cycle takes approximately 20-30 days, ensuring your table is crafted with the utmost care and precision.
Thank you for choosing CREATEATABLE. We are excited to create your unique epoxy table that blends artistry with functionality!